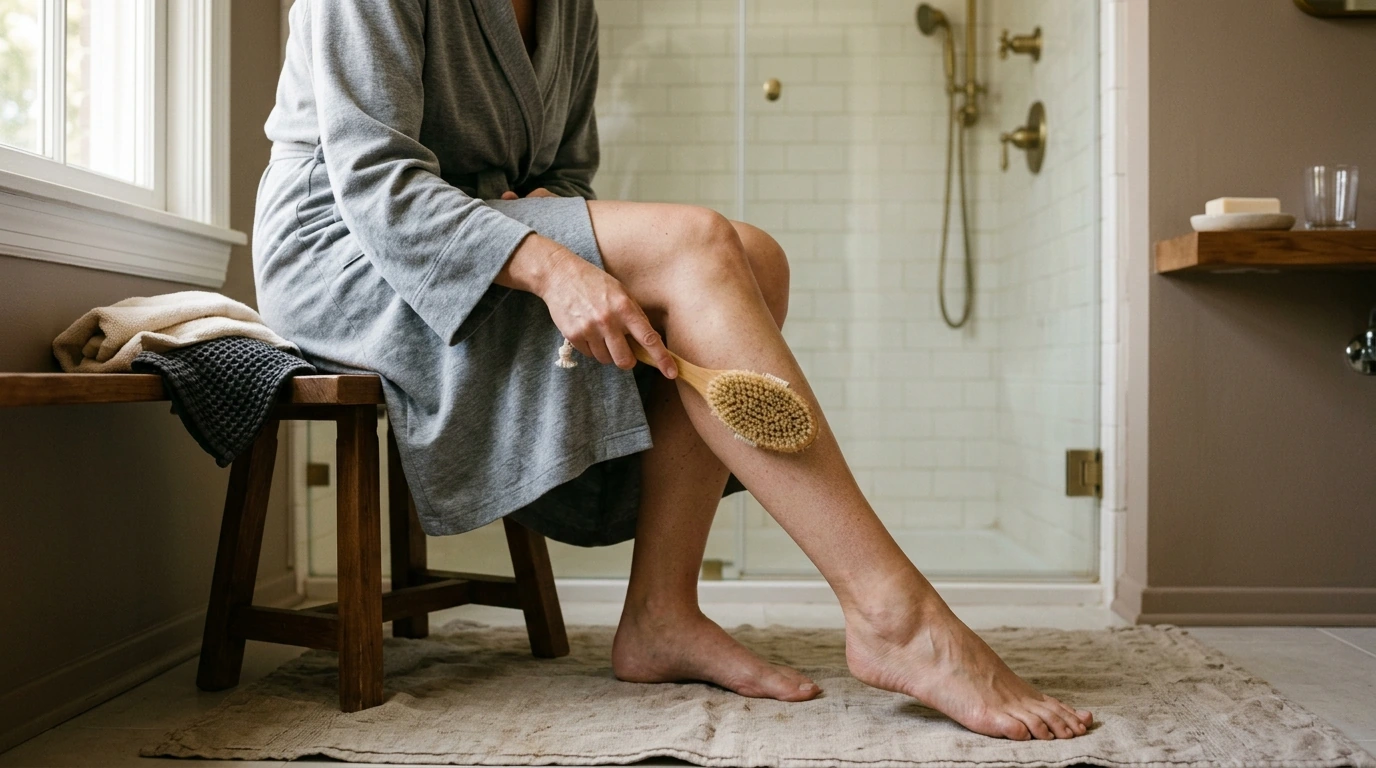
Some habits feel luxurious but take too much time. Dry brushing is the opposite: a quick, energizing ritual that fits between “wake up” and “get on with the day.” When it’s done correctly, it can support smoother-feeling skin, a fresh-looking glow, and that warm sense of circulation—without adding another complicated step to your routine. Our team put this guide together to show you exactly how to dry brush, how often to do it, what to avoid, and how to make it easy enough to actually keep.
Dry brushing means brushing clean, dry skin with a dry body brush—typically right before you shower. The point is gentle physical exfoliation plus a consistent brushing pattern that feels stimulating, not harsh. It’s not a medical treatment for lymphatic disorders, cellulite, or chronic circulation issues. In practice, the best results come from consistency, light pressure, and simple aftercare rather than “scrubbing harder.”
Dry brushing is mostly about surface-level support. When you brush with appropriate pressure, you lift away loose, dull surface cells so skin can look more even and feel softer. With regular, gentle exfoliation, rough patches on elbows, knees, and shins often feel less bumpy. There’s also the “product payoff” factor: body lotion or oil applied after showering tends to spread more smoothly and feel more effective on freshly exfoliated skin.
One thing you may notice right away is a temporary flush. That rosy, “woken up” look can happen after brushing—normal in the short term as long as it doesn’t sting or linger.
| Focus | What’s realistic | What to avoid claiming |
|---|---|---|
| Glow | Brighter-looking, more even surface after consistent exfoliation | Permanent skin tone changes overnight |
| Smoothness | Softer feel, less roughness on dry areas | Erasing all bumps instantly |
| Circulation sensation | Warmth/tingle and a temporary flushed look | Treating medical circulation conditions |
| Routine support | A simple ritual that encourages regular body care | A replacement for medical care or sunscreen |
The “circulation” benefit most people notice is the feeling: brisk strokes can be invigorating, especially in the morning or before movement. The popular direction pattern—brushing toward the heart—also makes the routine easy to remember and gives it a structured, intentional feel.
If you want to turn it into a full-body reset, pair dry brushing with a short walk, a quick mobility flow, or even a contrast shower (warm water, then a brief cool rinse if it feels good). You’re not chasing a medical outcome—you’re building a reliable, repeatable cue that your body recognizes as “time to wake up.”
Start on completely dry skin with a clean, dry brush, and do it before your shower. Use light-to-medium pressure: your skin can look gently pink, but it shouldn’t feel scratched, sting, or look angry red.
Avoid the face unless you’re using a brush specifically designed for facial skin (different softness, different technique). Finish with a shower to rinse away loosened skin, then moisturize while your skin is slightly damp. For exfoliation safety basics, the American Academy of Dermatology’s guidance is a helpful reference: Exfoliation and how to do it safely.
If you’ve ever started a “new routine” and dropped it a week later, keep this tiny. Three minutes is enough to feel the benefits without turning it into a production.
Shower right after, then apply a moisturizer or body oil. If you’re sensitive, choose fragrance-free and keep water lukewarm-to-warm—Mayo Clinic’s skin-care basics align with this “gentle and consistent” approach: Skin care basics. To make the habit automatic, keep your brush where you’ll see it (next to your towel or robe).
If you want an overview that balances benefits with safety considerations, Cleveland Clinic’s explainer is a solid read: Dry Brushing (overview, benefits, and safety).
Do it before showering on clean, dry skin. Shower afterward to rinse away loosened dead skin, then moisturize while your skin is slightly damp.
Use light-to-medium pressure. Your skin can look slightly pink, but it shouldn’t sting, burn, or stay red for long.
It may temporarily improve the look of skin through exfoliation and a short-term flush, but it’s not a permanent cellulite treatment. Consistency can help skin feel smoother, but it won’t “erase” cellulite.







Leave a comment