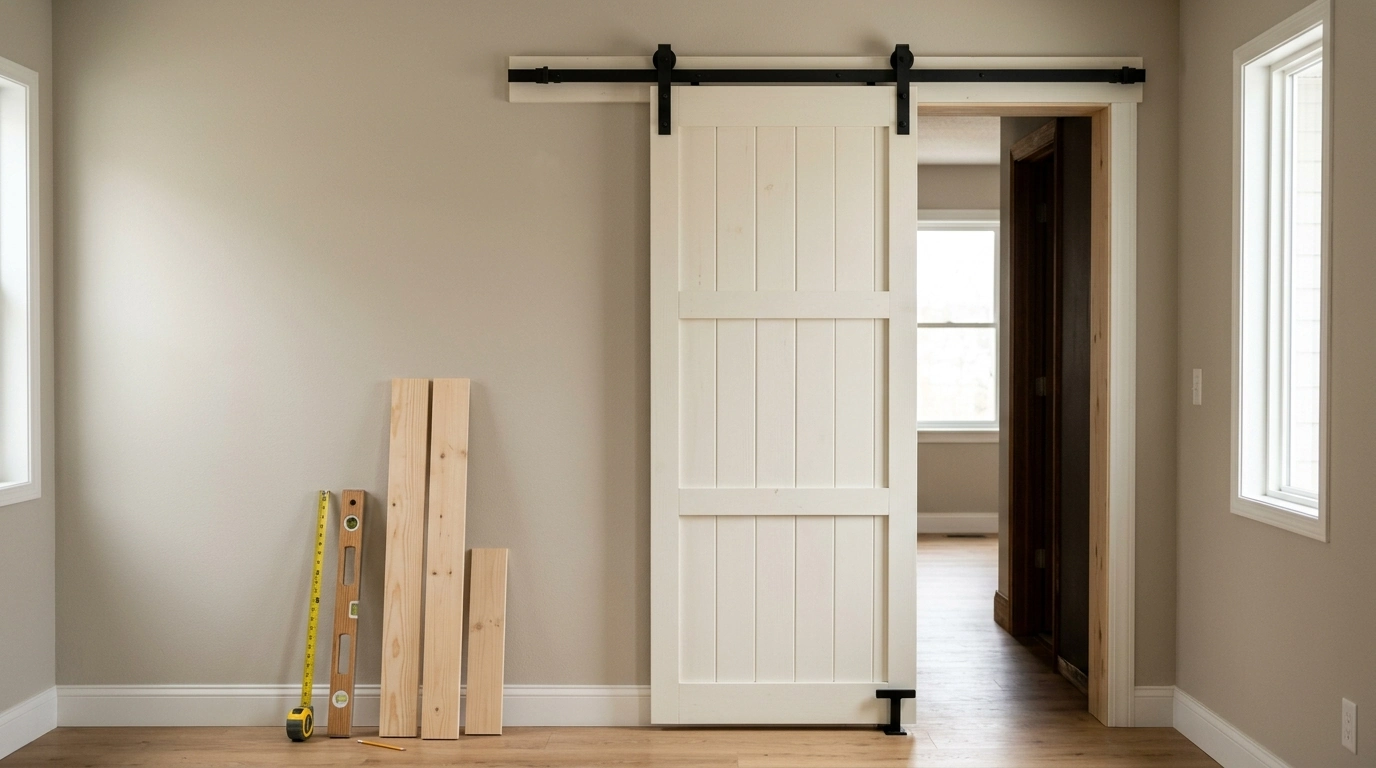
A barn-style sliding door can upgrade a room fast, but store-bought doors and hardware bundles add up quickly. A better approach is to keep the door build simple, spend wisely on the parts that affect performance (hardware and mounting), and plan measurements so the finished install looks intentional. Below is a practical, budget-friendly path to a sliding door that moves smoothly, closes cleanly, and avoids the “expensive because it’s labeled barn door” trap.
Start with the finished opening, including trim. For privacy and light blocking, the door should cover the opening plus overlap on both sides. Next, confirm you have enough wall space for the door to slide fully open—generally at least the door’s full width. Finally, check vertical clearance above the opening for the track, spacers, and hardware, especially if you have crown molding, low ceilings, or a nearby light fixture.
Before buying anything, locate studs where the track will mount. If the track holes won’t align with studs, plan on installing a header board that’s secured into studs to safely carry the load. Also decide how close the door should sit to the wall: closer gives better privacy; farther out helps clear thick trim but can increase light gaps.
| Item | Rule of thumb | Budget-friendly note |
|---|---|---|
| Door width | Opening width + 2–4 in overlap per side | More overlap = better privacy; use wider boards rather than adding costly edge trims |
| Door height | Opening height + ~1 in (depends on floor gap) | Plan a 1/2–3/4 in floor gap to clear rugs and uneven floors |
| Track length | ~2× door width | Standard lengths are cheaper; pick closest longer size and trim only if required |
| Header board | Same length as track; mounted into studs | Stained 1×6/1×8 pine is often cheaper than specialty “barn door headers” |
Three door styles consistently deliver a “custom” look without custom pricing.
Reclaimed wood can be inexpensive, but budget time for denailing, flattening, and dealing with warping. For rooms where sound control matters, focus less on surface style and more on mass—solid-core doors or thicker assemblies tend to perform better than light planks. If you want a quick refresher on how wood expands and contracts, the USDA’s wood movement guidance is a solid reference: USDA Forest Products Laboratory: Wood Handbook.
For a budget build, prioritize straight, readily available materials and let them acclimate indoors (especially boards) before assembly.
If you want a tight, step-by-step checklist (especially helpful for first-time builds), DIY Barn Doors: build a stylish sliding door on a budget is a handy companion for planning, cut lists, and installation sequencing.
For more build visuals and alternative door styles, you can compare methods at Family Handyman.
If you want a clear walkthrough for hardware mounting best practices, This Old House covers the alignment and safety basics well.
For step-by-step cut lists, tool checklists, and a streamlined build flow, use DIY Barn Doors: build a stylish sliding door on a budget as a companion during planning and installation. It’s especially useful if you want fewer measurement surprises and a clearer sequence from sizing through finishing and mounting.
If you also like practical digital guides for everyday life, these are currently available: Western Outfit Combinations for Modern Style and Using AI to Keep Your Pet Happy and Healthy.
A practical rule is opening width plus 2–4 inches of overlap on each side. More overlap blocks more light and improves privacy, but thick trim may require extra overlap or spacers so the door clears the casing cleanly.
Studs (or a header board anchored into studs) are important because the track and door load can be substantial. If the track holes don’t line up with studs, mount a solid header board into studs and attach the track to the header; relying only on drywall anchors for a heavy door isn’t a safe long-term solution.
Common pine boards and sanded plywood are usually the best low-cost options. Paint makes both look clean and consistent, while staining pine can look great if you use wood conditioner first to reduce blotchy absorption.






Leave a comment